Fossil Photogrammetry (Ammonite)
After the photogrammetry experiments in my first blog post on photogrammetry, I have got my ammonite model to a suitable place where I am overall happy with the result, although it is not finished.
Because I had to remove the stand from the model and somehow keep the texture intact, I realised that the best way to capture the whole thing was to do it in two halves. Since the fossil is very dense it was too heavy to suspend from something and too small to tie something around because it would have shown up on the model.
I then took both models into Maya and, using very obvious and easy to find geometry, I lined them up as best I could because there was quite a bit of overlap in the middle that I could use for the reference points.
I then reduced the number of polygons using the reduce tool from the original 1.2 million per half to 30,000 per half.
I then used the orthographic view to cut out polygons evenly on both models to a point where they could meet in the middle. I then manually joined around 2000 vertices in the centre of the object to sew it together and make around 1000 running around the centre.
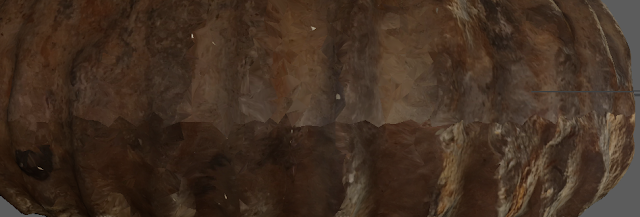
This created some very minor texture variations but one is quite prominent and will take some adjusting of the texture on photoshop in order to match the colours better.
After importing it to UE4 I realised that the texture was not carrying any normal information but I am undecided whether I would like to bake the normals on in Maya, find a way to export then from Zephyr or create a normal map of my own. The smoothed version in UE4 creates a shiny resin effect that treated fossils often have in museums.


Comments
Post a Comment